How to Take Instagram Photos at Home
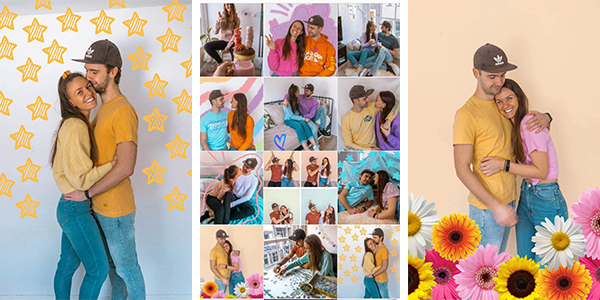
Usually, we take all of our Instagram photos when we’re traveling. Since that is out of the question for the time being, we needed to find other ways to create content for our Instagram during self-isolation. One of the ways to create Instagram content is of course taking photos at home. This might sound boring and repetitive at first, especially when you don’t have a big house, but we’re going to show you that it doesn’t have to be like this at all!
What you need to take Instagram Photos at Home
Camera
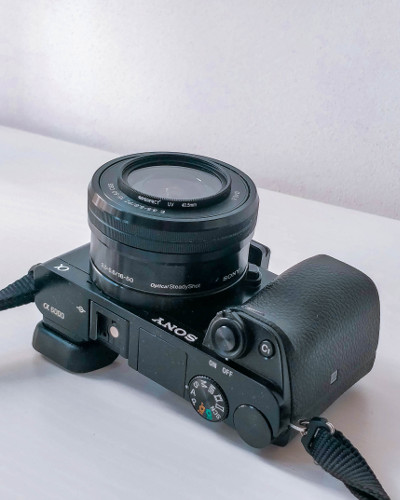
The most important tool to be able to take photos is a camera. We take all of our Instagram photos with the Sony a6000 camera, but you don’t necessarily need a “fancy” camera. The cameras in phones these days work amazing too and they will absolutely do the job for Instagram content.
Someone (or something) to take the photos
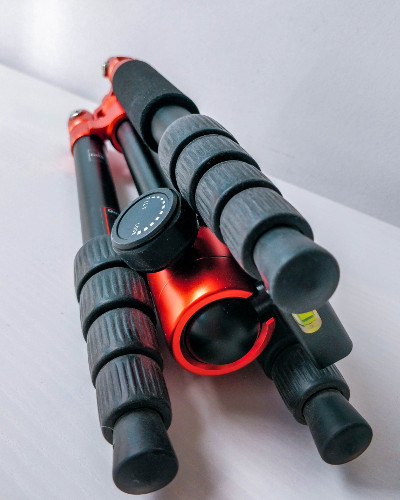
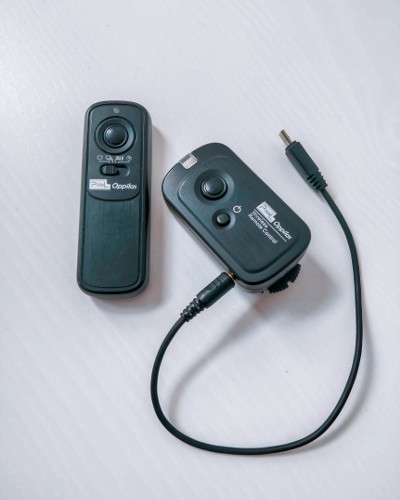
All of our Instagram photos are photos of us together. To take these photos we use a tripod and a remote that we connect to our camera. The tripod we’re using is the Rollei Compact Traveler No. 1, which is perfect for traveling as it’s very compact when folded. The remote we use is the Pixel RW-221 Oppilas Wireless Remote Control. It’s a pretty cheap remote and we weren’t sure whether it would be a good buy, but it’s been doing a very good job and we love it.
Shooting with a tripod and a remote gives you complete freedom and independence to take the photos whenever you want. You don’t need a tripod and a remote to take Instagram photos at home though. If you’re living together with someone, you can simply ask if they want to take photos of you. You can also construct your own “tripod” with things lying around in the house. Placing your phone on a table between some books, for instance, works fine. Even though a remote is very easy to use, you can also just use the self-timer function which almost every phone and camera has.
If you decide to invest in a tripod, you don’t need to buy an expensive one if you’re only going to use it to take photos at home. The main difference between cheap and expensive tripods is the build quality and compactness when folded. If you’re not going to leave the house with the tripod, you can safely buy the cheapest one. Please check whether the camera you’re using has a tripod screw, it’s located at the bottom of your camera. Mirrorless and DSLR cameras usually have a tripod screw, but not all compact cameras have one. If you’re taking photos with your phone, you need a tripod mount that connects your phone to the tripod. You can find many of these online.
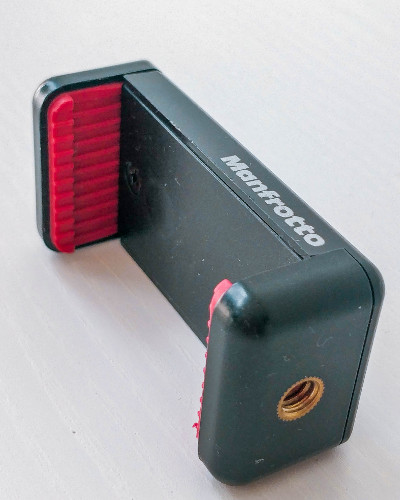
If you decide to buy a remote, make sure it works with your camera. Google is your best friend. There are also remote bluetooth shutters for your phone which are worth checking out. Even though you can shoot better candid shots with a remote than you would with the self-timer function, be aware that you have to hide the remote in your photos. Depending on the type of photos you’re taking, this can either be no problem at all or very annoying.
How to come up with photo ideas
If you’re looking for photo inspirations, Instagram is the place to be. There might be some accounts that you know that are taking photos at home or they might pop up in your explore page. Save every photo you like that has been taken at home in a separate folder. This way you always have something to draw inspiration from.
Be inspired by the photos, don’t exactly copy them. It’s way more fun to give it your own twist than to exactly copy what you see.
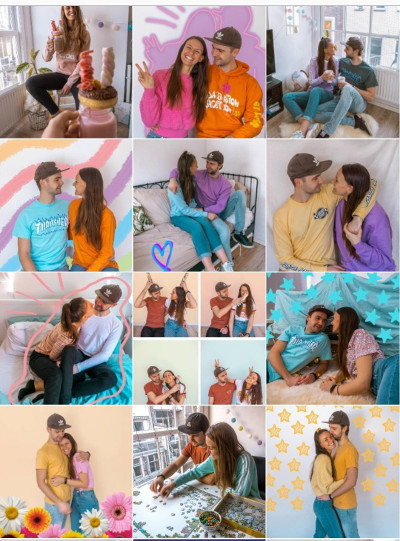
Being creative with taking photos at home
As we take photos in the places we travel to, it’s easy to make every photo look different as we simply take them at different spots. If you’re taking photos at home, you have a (relatively) small space in which you can take photos and you’ll probably feeling like you’re running out of options quickly. As the setting in which you take photos will remain the same, it’s important to get creative in different kind of ways.
Poses
Different kinds of poses can make your photos look completely different. Instagram is again the place to be for pose inspiration. If you see a photo with a pose that you really like, save the photo in a separate “pose inspiration” folder. While we’re taking photos, we often take a look at our own pose inspiration folder to see if we can switch up some poses. It’s great to have a folder filled with different kinds of folders to look into when you’re feeling stuck with your own poses.
If we’re feeling stuck with our poses, we choose one pose from our inspiration folder. We copy that pose and then we do our own thing when we’re taking the photos. The end result of our photo never looks the same as the pose we used as inspiration, and that’s a good thing. This is an easy trick if you want to use a different pose, but don’t want to copy someone else.
For poses it’s important to go with the flow. Try to act natural and have a good time. If you want to laugh in your photos, really laugh. Think about something funny or if someone is taking your photos, ask if they can make you laugh. These candid “in-between” shots are often the best photos.
Edits
Our travel Instagram photos are always pretty straightforward and we only edit them in Lightroom to enhance brightness, colors and saturation. As we’re limited to the same space right now, we love to get more creative with our edits. We love to add all kinds of stickers to a photo, stars or draw colorful stripes. There are endless ways to be creative with this and to make all of your photos look different.
Photoshop
Photoshop is a great tool to create fun edits to your photos. There are literally endless ways to create edits in Photoshop, your imagination is the only limit. In this video, we’re showing you 5 fun and creative ways to edit your Instagram photos in Photoshop. These edits are all super fun and very easy. You don’t need to be a pro-Photoshopper at all, anyone can do these!
Picsart
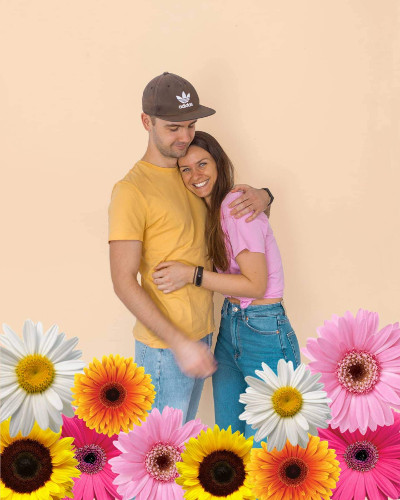
There are also other ways to create fun edits to your Instagram photos beside Photoshop. Picsart is a popular mobile app for this. There are lots of possibilities within the app and it’s so much fun to explore and try different kinds of things out. We only started to use the app recently but we love to browse the app to see what’s possible. We added the flowers in this photo with Picsart and really like the result of it.
Canva
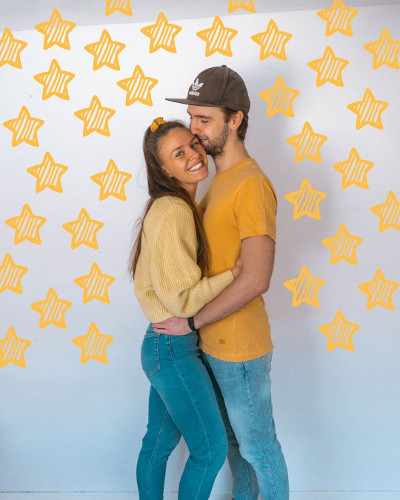
Canva is a well-known mobile app that most people use to create story templates or Pinterest pins. You can also use Canva to add fun edits to your photo. Canva is more limited when editing photos than Picsart is, but you can still add lots of fun things to your photo. We love to browse the stickers of Canva to see which ones are fun to add into our photos. In this photo we added the stars using Canva.
Creating cute corners
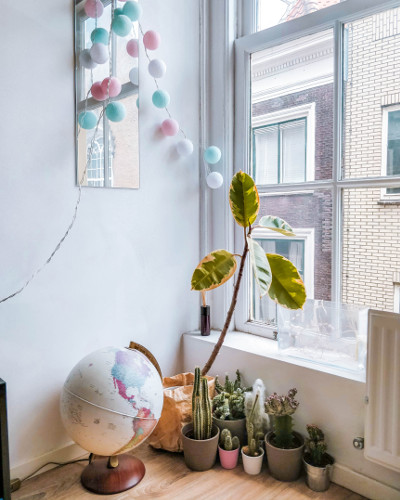
Creating a cute corner allows you to make your photos look different even though they are taken in the same space. We take almost all of our photos in our very small living room, but we try to be creative with the things we have. You can create these corners easily by using stuff you have lying around. We often use cactuses, plaids, fairy lights and pillows to create different kinds of corners. Switch things up between every photo and use different corners in your house. This way you can make the same space look completely different every time you take a photo there.
If you also want to see how we take Instagram photos at home, be sure to watch this video. (LINK) If you’re only interested in the actual photo taking part, skip to 9:45.
We hope we’ve inspired you to take photos at home and to be creative with the limited possibilities there are during self-isolation. Have you been taking photos at home already? Let us know in the comments below!
Be sure to check out:
- our daily life updates on Instagram
- our Stuck at Home vlog series on YouTube
- our TikTok
More Self-Isolation
Virtual Tour of the Hortus Botanicus in Amsterdam
Virtual Tour of the Tulip Fields in the Netherlands
Fun Things To Do at Home During Self-Isolation

